
Braid Tutorial
December 19, 2016
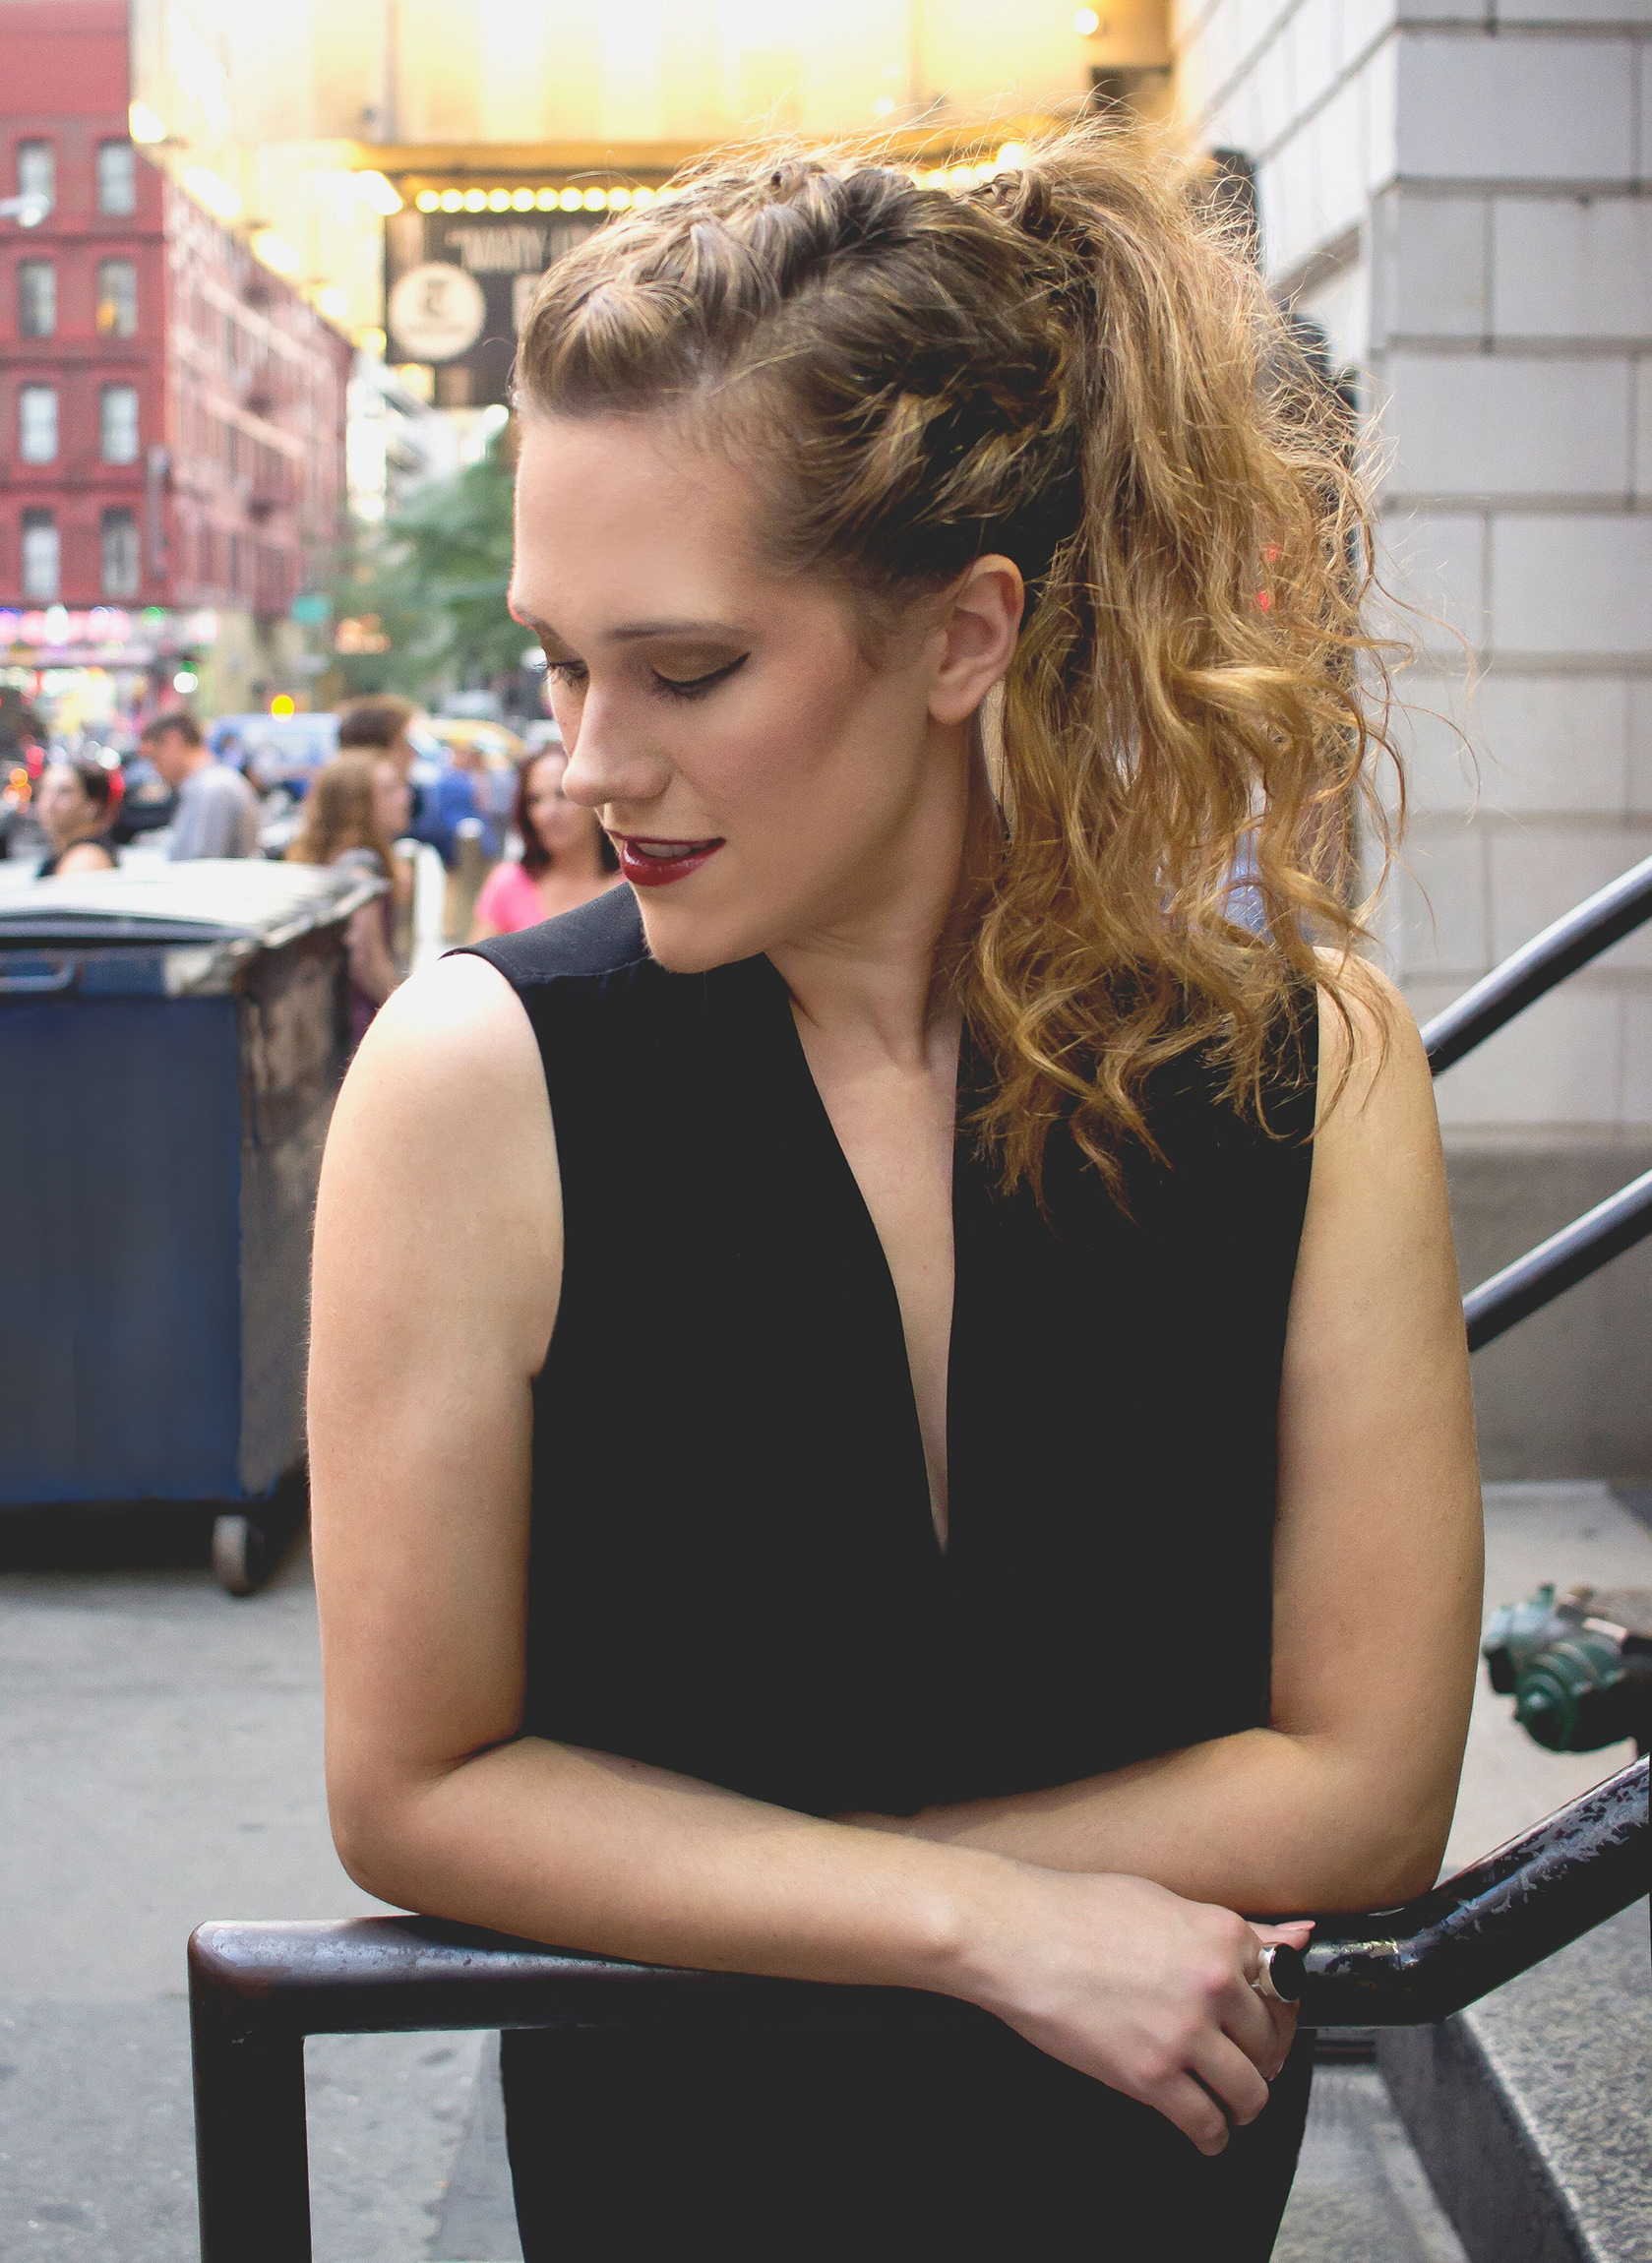
These pictures were taken when I was in Manhattan on business. While my friend, Kylee, and I rode into the city, we watched ads on a screen in our cab. The hottest NYC hair trend was obvious…braids, braids, and more braids. The style I’m wearing in these pictures was everywhere. Kylee said, “I bet I can recreate that look on you.” So, when I had a break between meetings, she did. Then we went out and snapped these pics.
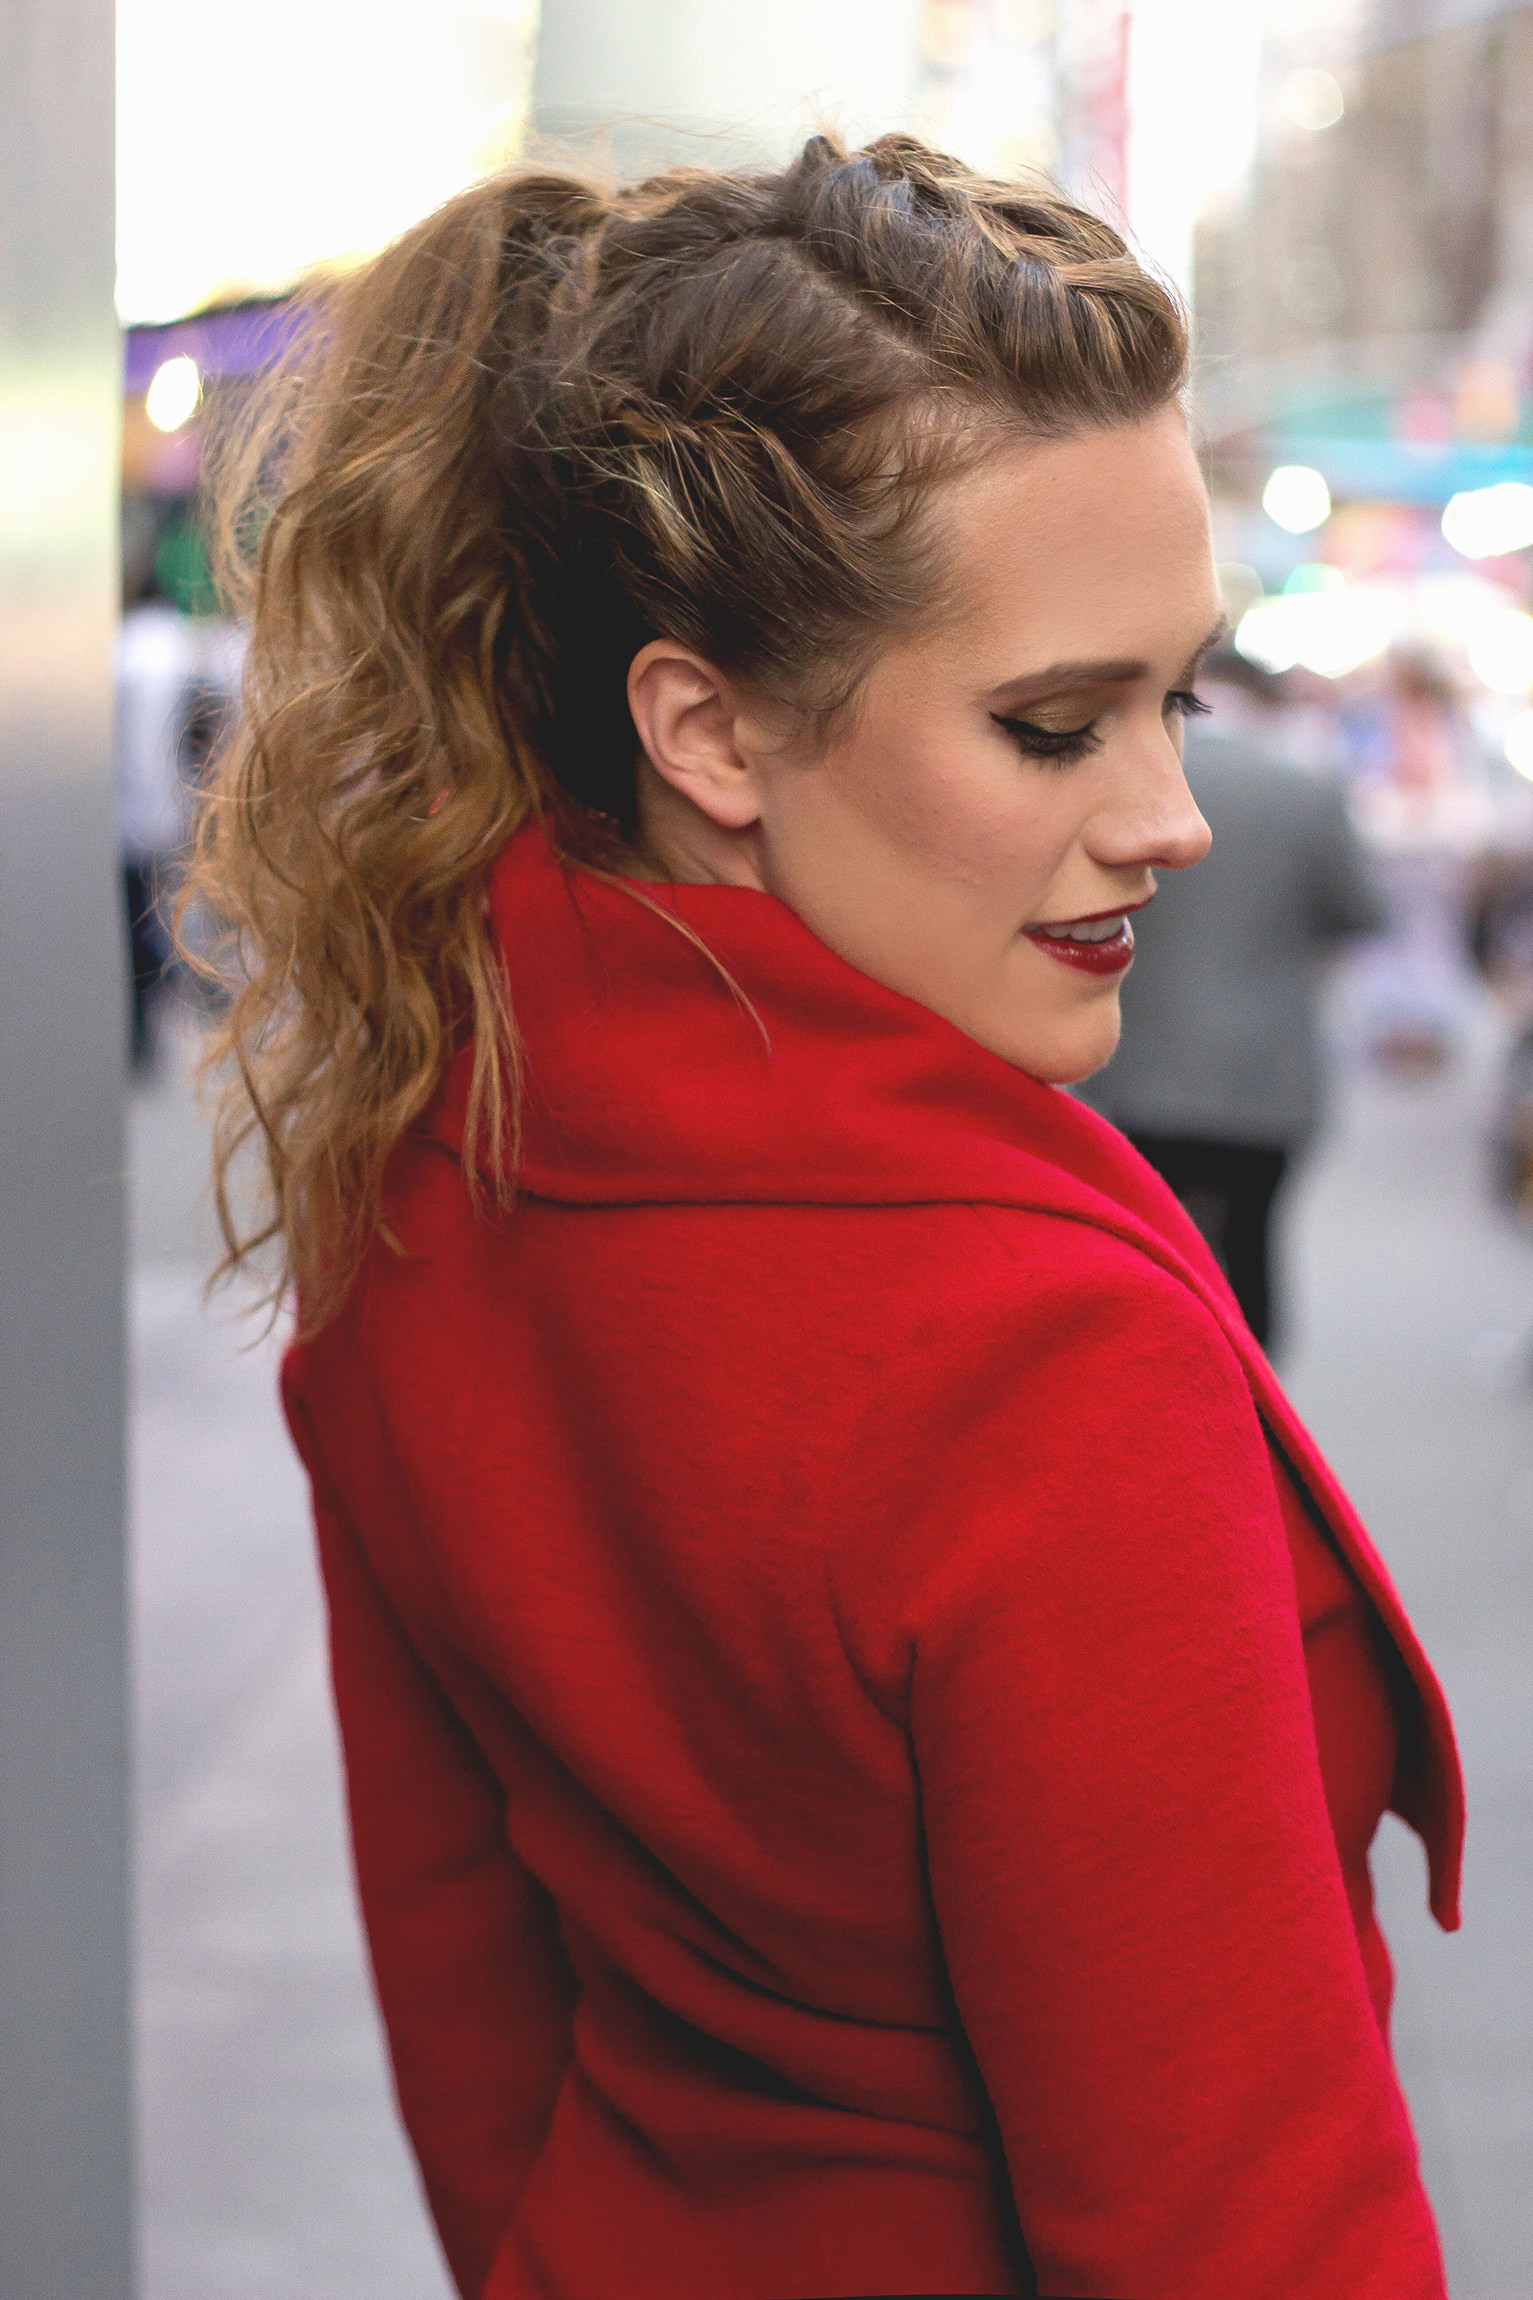
Here’s how you can get this look: First, take a two-inch wide section of hair on top and create a French Braid starting just above your forehead. Secure it with an elastic. If you need a little help weaving the braid, here’s a great step-by-step tutorial.

Second, create two more French Braids, one on each side of your head. Angle them toward the bottom of the crown, and have them meet the top braid there. For each of the side braids, you will also use a two-inch wide section of hair. Tie up the loose ends with elastics.

Third, take the the three French Braids you have just created and weave a traditional braid. Start this just below the crown, and make it only about one inch long. You know how…right over center, left over new center, and so on.
Secure this new braid with an elastic, and remove the elastics from the ends of the three braids you used to create it. Bunch all loose hairs into this high ponytail and secure them.
For a full ponytail, keep the three braids in for a while. After you remove the bands on all of them, fluff the hair and spray it. The result will resemble a crimped, full ponytail.
</p